|
Mirror replacement/conversion on a 1990 Honda Civic Hatchback:
Below you will find the step by step of how I first converted my non-functional drivers side mirror to a functional one. Also I added a new mirror to the passenger's side that does not come on the stock STD hatchback. The donor car is my 1990 Honda Civic Si Hatchback parts car. Here we go!
|
|
|
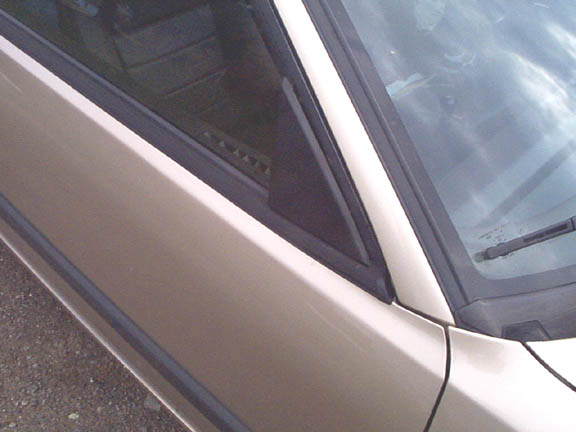
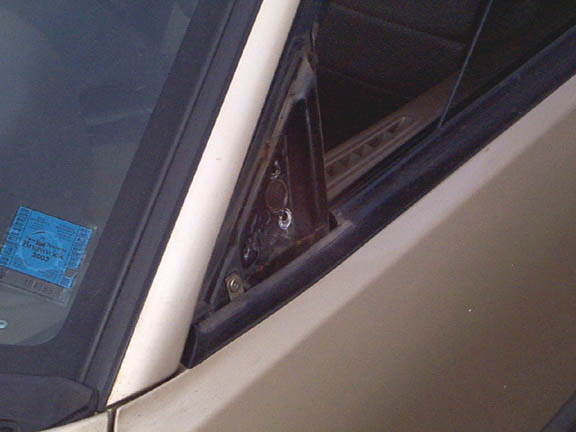
In the beginning...
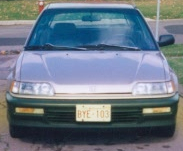
Here is what my car looked like before, with the one mirror and no passenger mirror.
|
|
|
Step 1
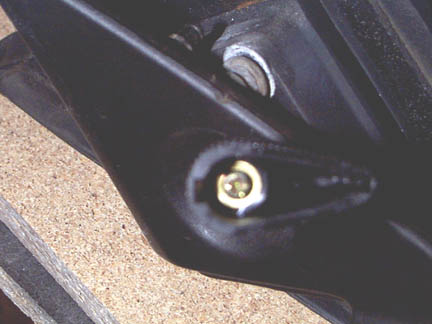
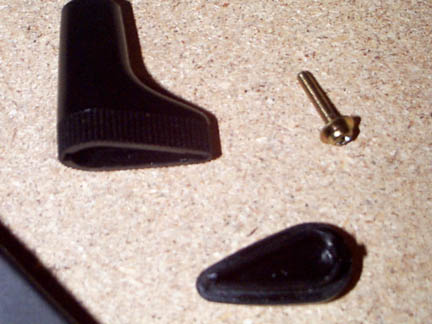
First thing you want to do is remove the small "cap" that is on the end of the 'handle' that moves the mirror. This will reveal a small 'screw'.
|
 |
Step 2
Next you will remove this screw and then that will allow you to remove the "knob" portion of the handle of the mirror adjustor.
|
 |
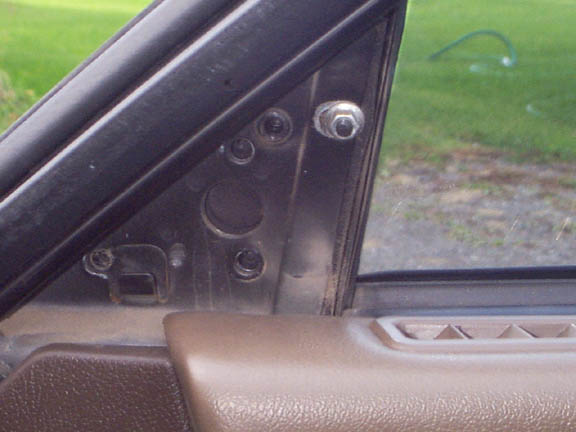
Step 3
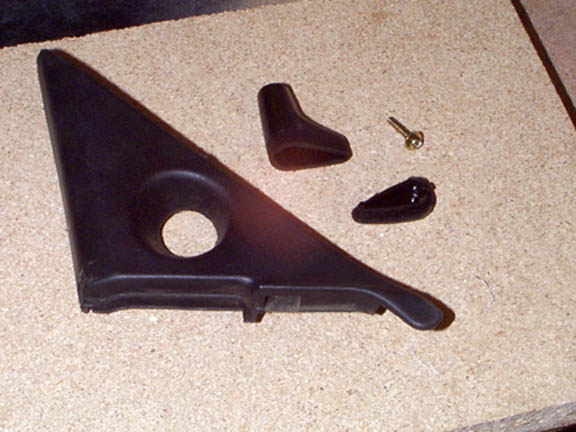
Then you are left with a knobless adjustor sticking out of the door, remove the the almost trianglar piece of plastic that is at the end of the handle. Be careful not to break the plastic piece, with a little 'tuggin' it does come off.
|
 |
The Passenger Side
On the passenger side it is similar, but a little different. On this side there is just a "cap" that covers the outside where the mirror should be...to remove this you have to start on the inside as with the drivers side.
|
 |
Inside...
On the inside you will find a triangular piece of plastic similar to the drivers side, yet without the hole for the mirror handle. This is 'pulled' off in the same manner as the drivers side.
|
 |
Done!
Then with a slight push, the "cap" is removed ready for the new mirror. No screws on this side, nothing to screw too...on to the mirrors
|
 |
Step 4
At this point you will have removed the end cap, the knob, and the triangular pice of plastic, the pasenger's side covers...next comes the mirror! Behind the plastic piece that you just removed you will find three screws that you will remove. My advice is to roll down your window nad physically hold onto the mirror so it doesn't fall when you remove the screws, it likely won't...but just to be safe. Remove the three screws.
|
 |
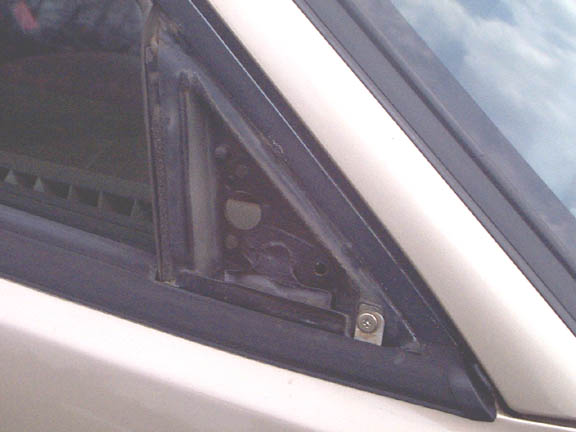
The open wound...
Now you will have left the open hole in the door where the mirror 'should' be...next you have to find the mirror that goes there.
|
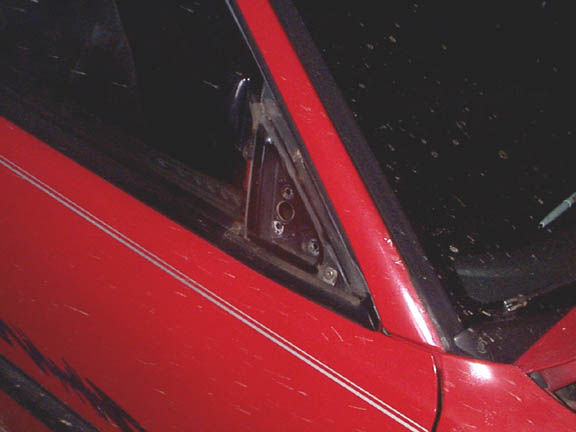 |
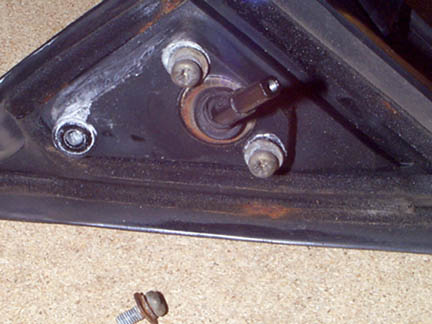
Step 5
Now that you removed the old one you have to find a donor. Now some will use a new mirror, or a mirror from a scrap yard. Myself, I had to remove them from the donor car, to do this I repeated Steps 1-4. This is a picture of the area of the donor car with the mirror removed.
|
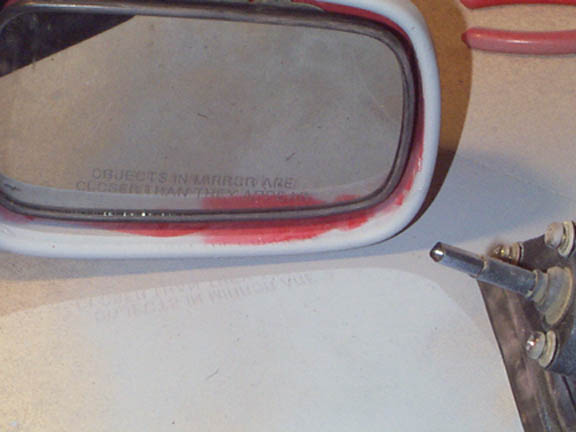 |
Step 6
When you have your donor in hand you must take a very fine grit sandpaper and "scuff" the surface of the mirror casing to prepare it for priming. Once this is done, with a clean rag wipe off any dust and dirt and then using a "sandable" primer give the casing a coat of primer. I guess it goes without saying to cover the "mirror" portion of the unit...duh! I sanded and coated the mirror three times to remove any blemishes that existed in the mirror.
|
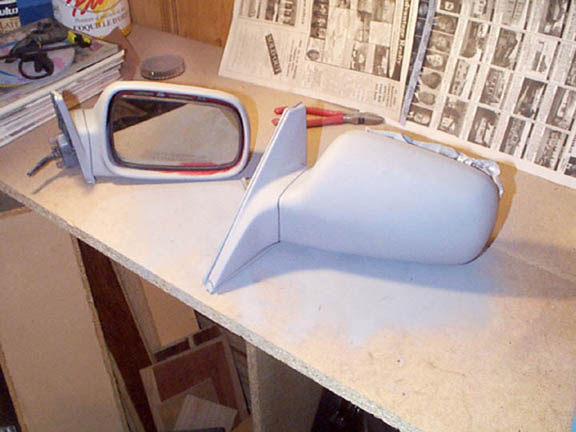 |
Step 7
Repeat this process with both mirrors and again using a clean rag wipe any primer dust when sanding in between coats and at the end of priming. What comes next...paint!
|
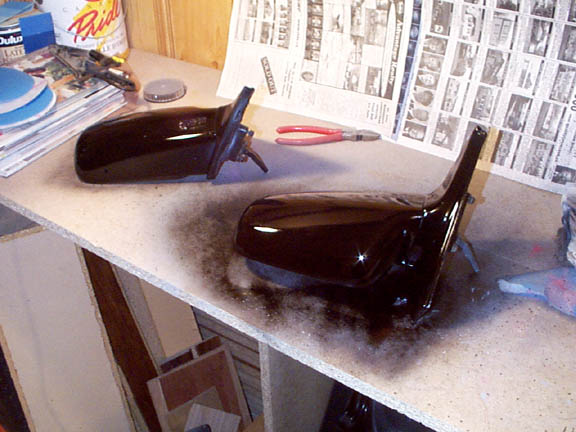 |
Step 8
Paint! That's right...whatever your color of choice...I went with the original black. Three or four coats, I can't remember, must be the paint fumes...suggestion, open a window. ;P
|
 |
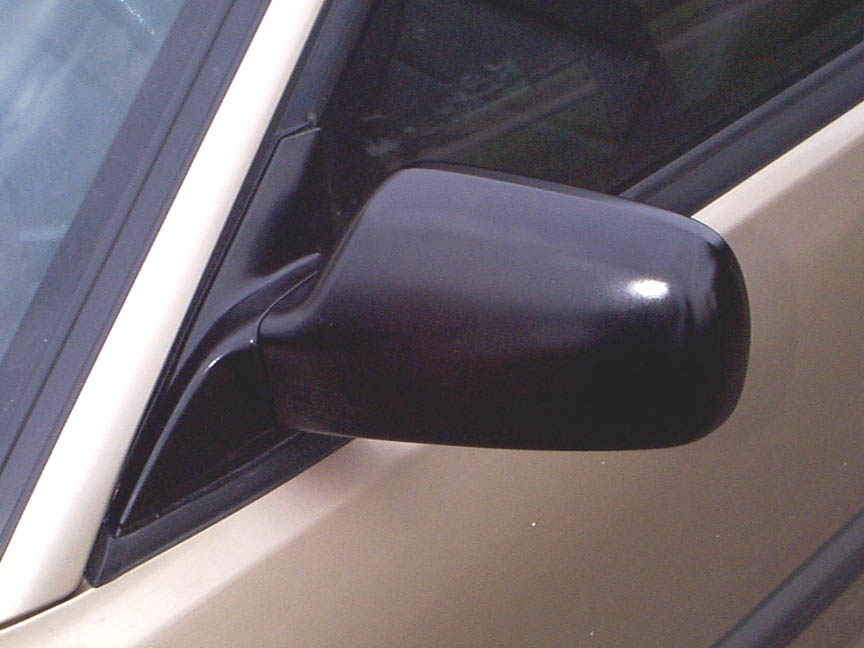
Step 9
I then started on the passenger side and to 're-assemble' you proceed with the reverse of Steps 1-4.
|
 |
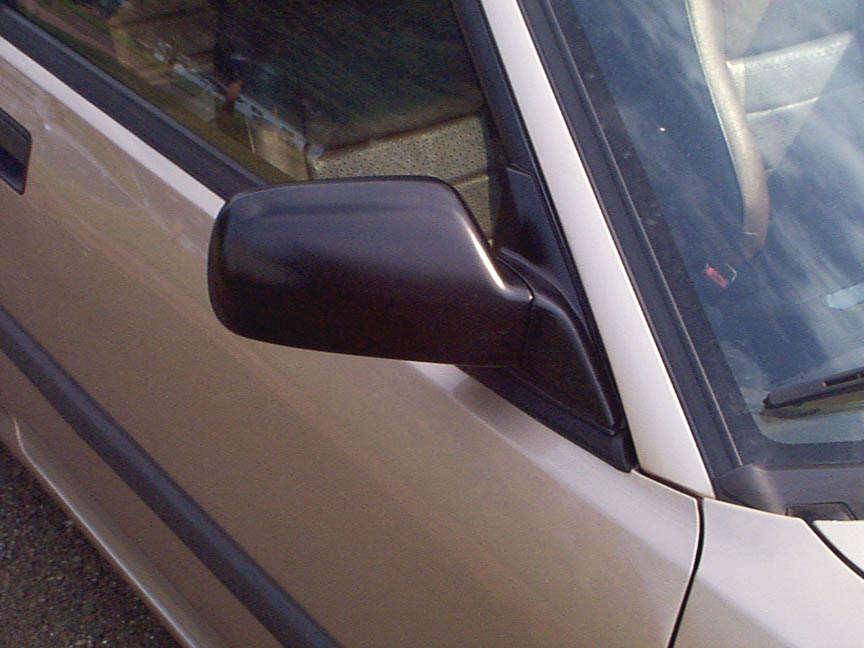
Step 10
Then on the drivers side to 're-assemble' I proceeded with the reverse of Steps 1-4.
|
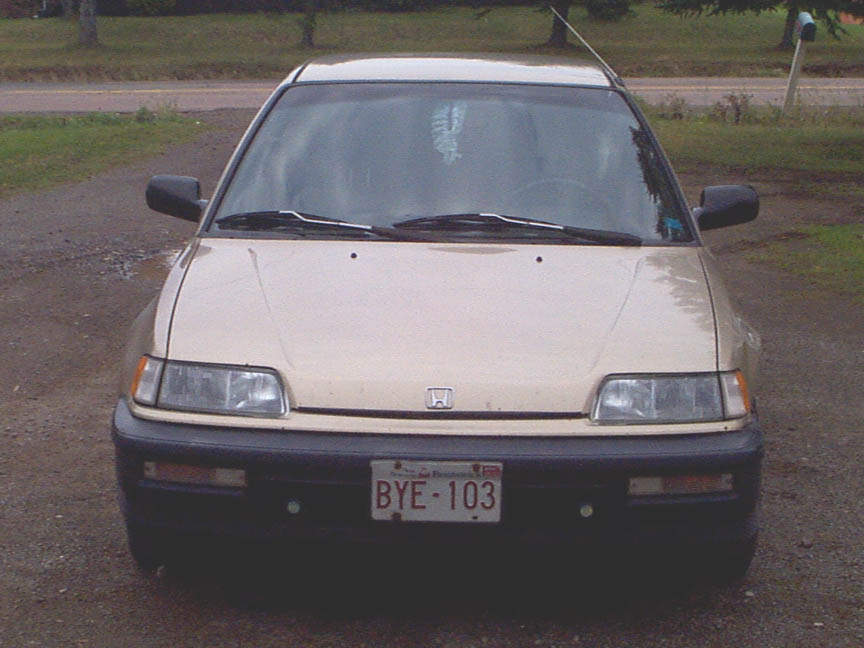 |
VOILA!
The end result...my stock Civic that once had a lonely single mirror...now has two! Funny how something as simple as a mirror makes the car look lower and wider. That's it...done!
|